EC2 instance on AWS
EC2 instance on AWS
Basic concept to understand is that when we get t2.micro or any other EC2 instance, it is an instance that we can stop, restart and terminate. When we terminate an instance we will still have a volume that all our files are living on. In the future we can attach another instance to a volume.
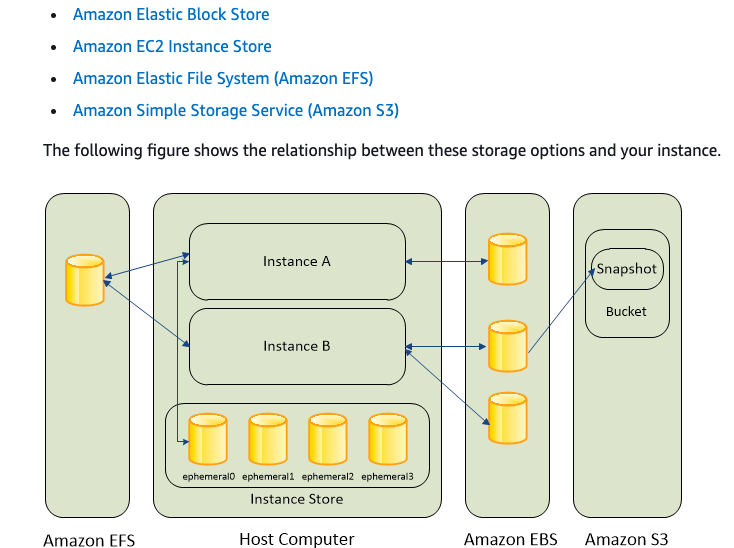
https://docs.aws.amazon.com/AWSEC2/latest/UserGuide/Storage.html
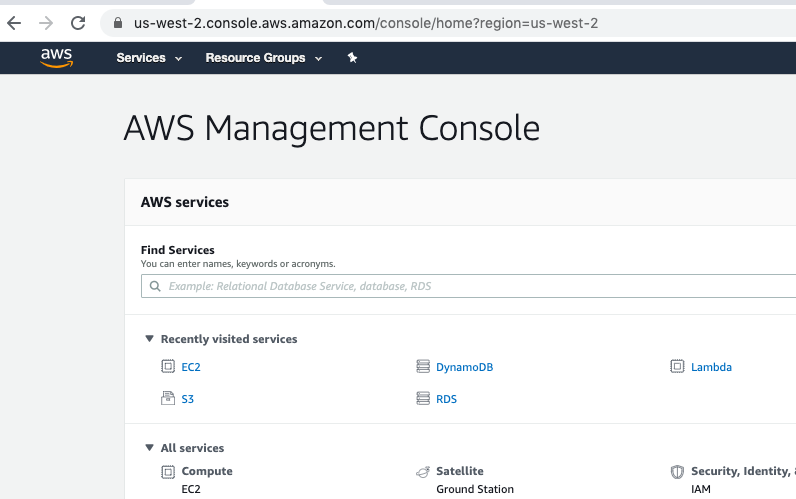
Step 1: Navigate to EC2
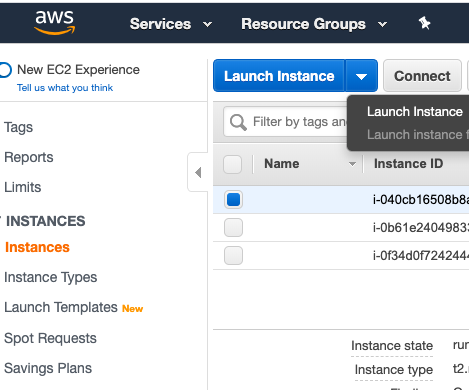
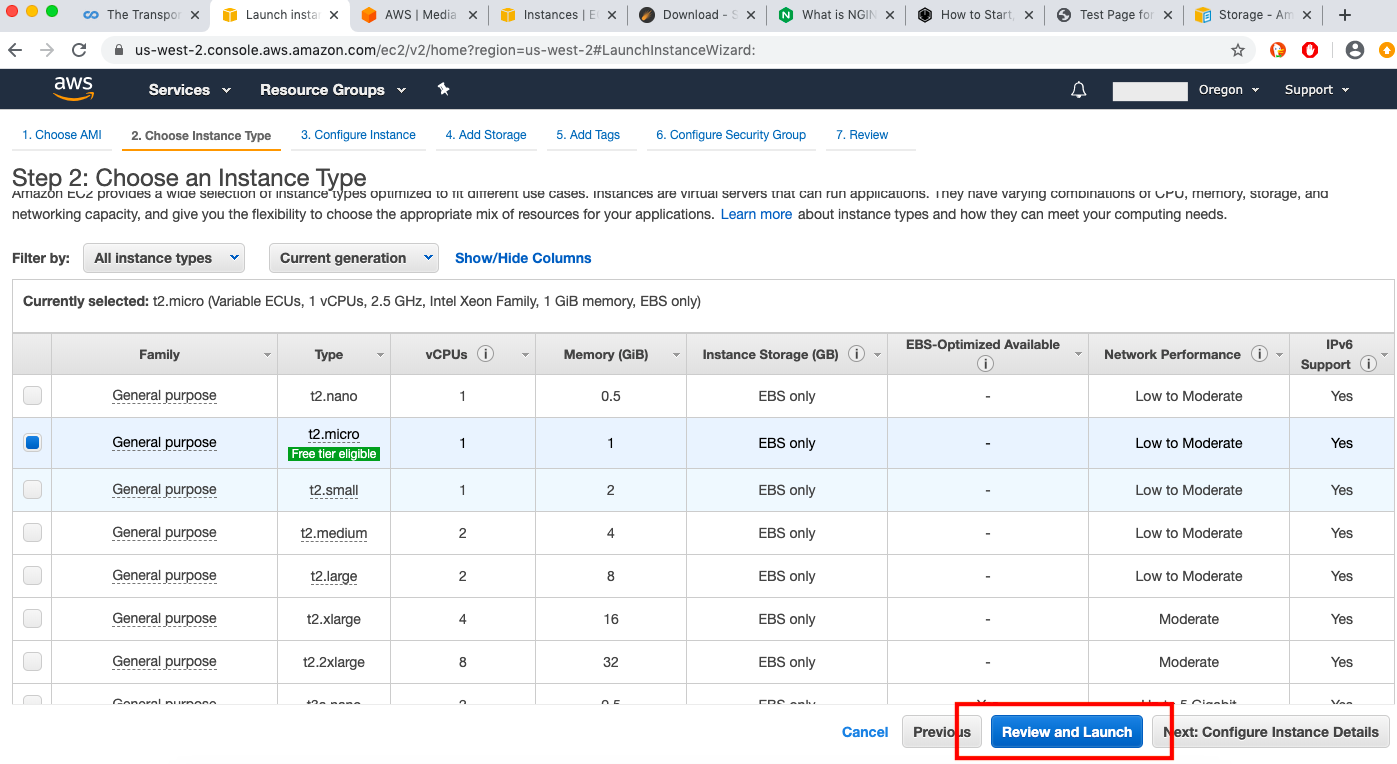
Step 2: Launch and instance
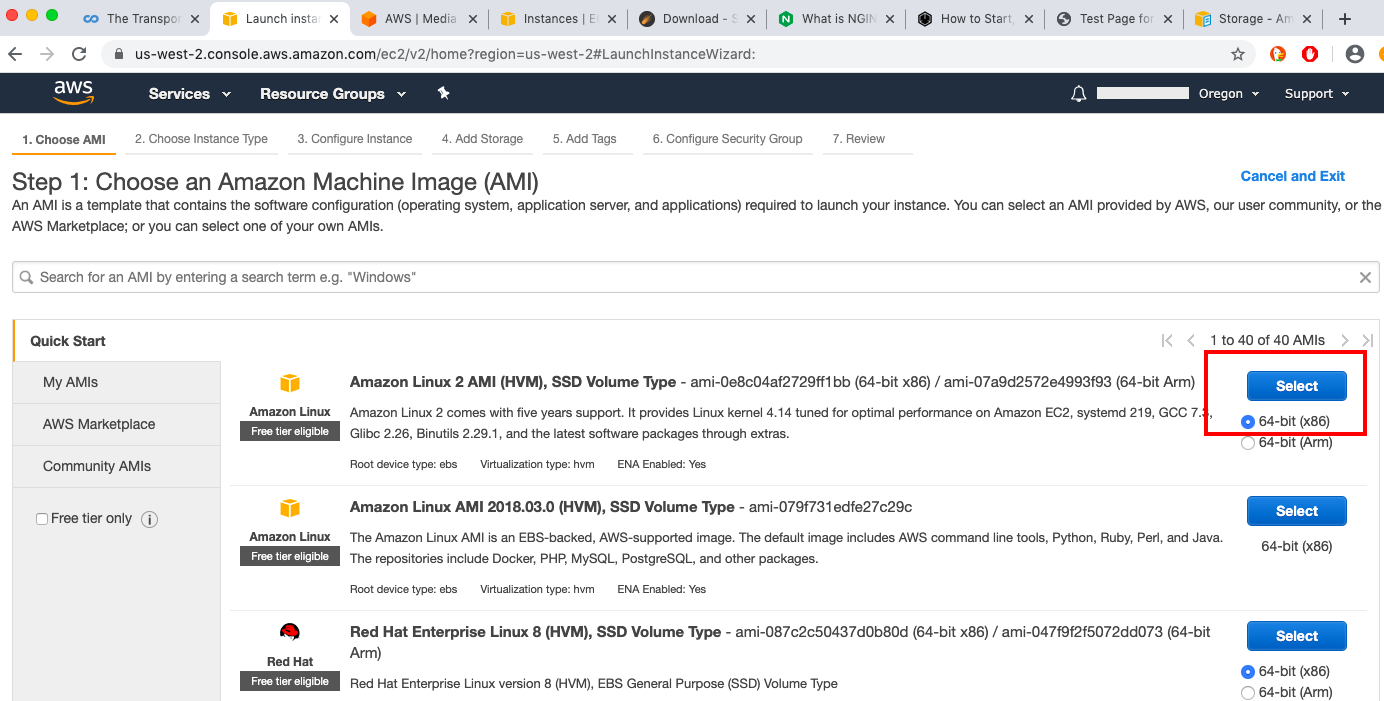
Step 3: Choose an Amazon Machine Image
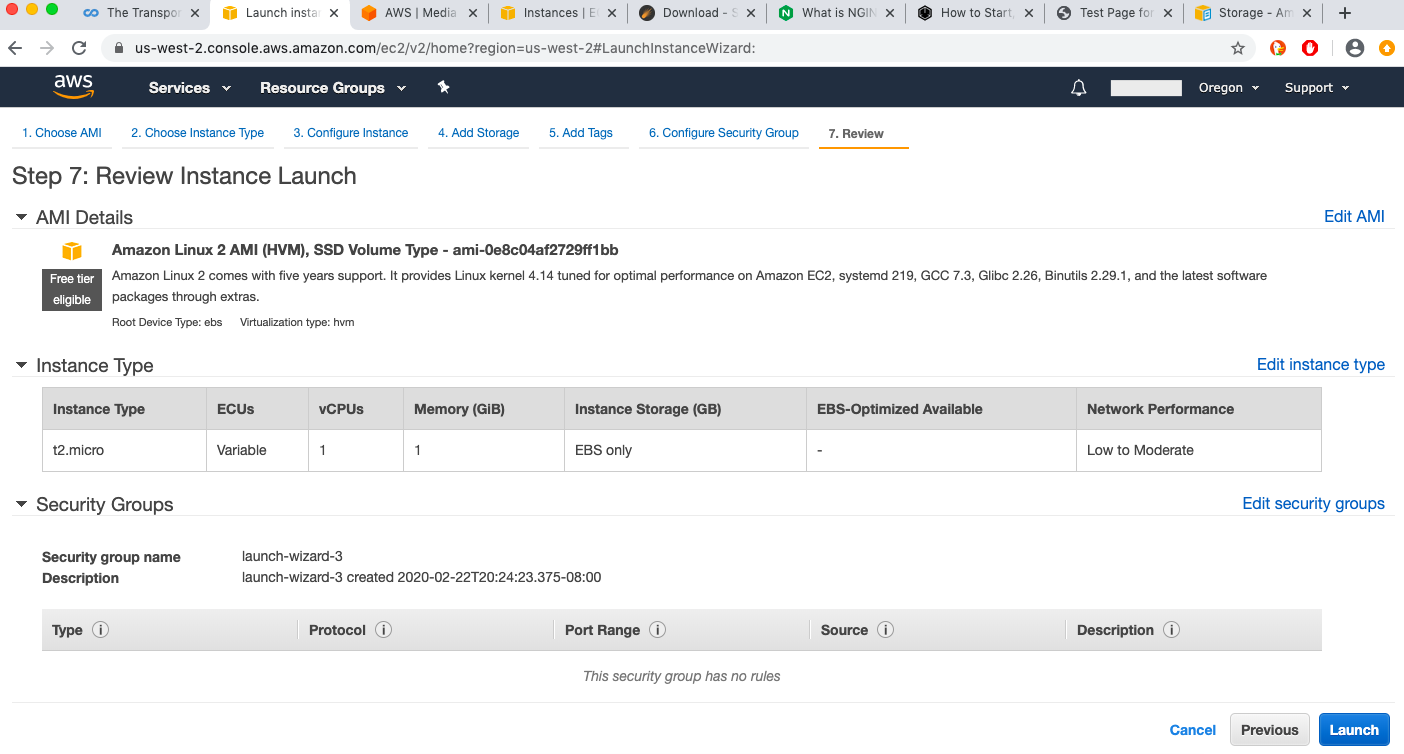
Step 4: Review and Launch
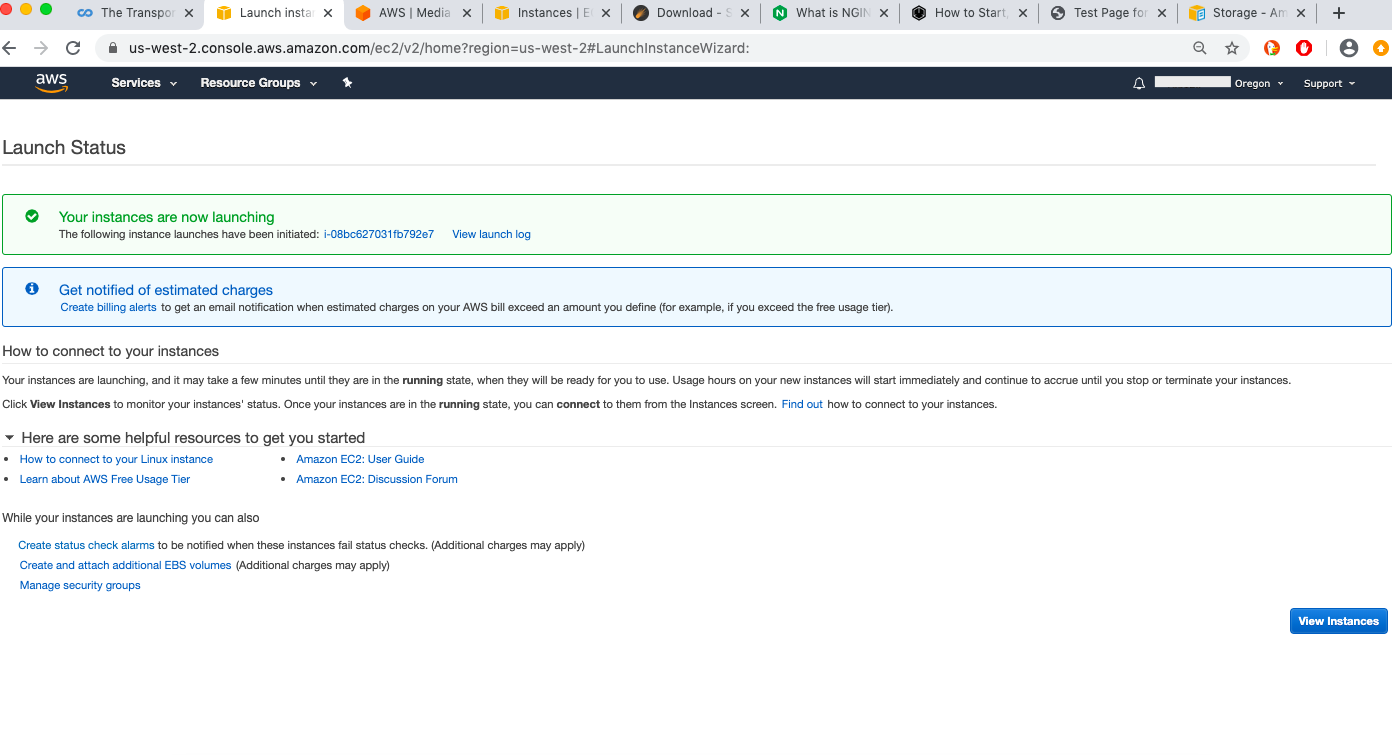
Step 5: Launch
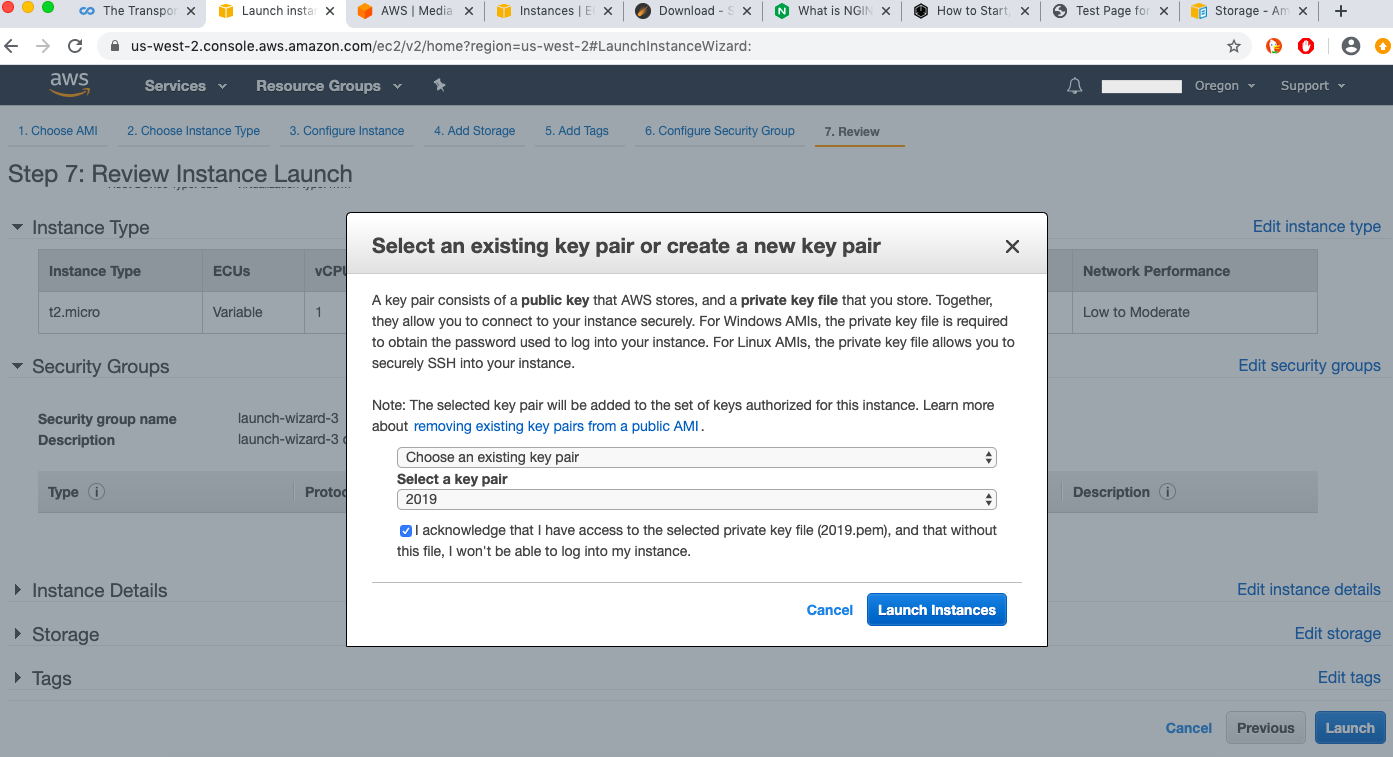
Step 6: Select a Key
(generate key first if you don’t have one)
Done
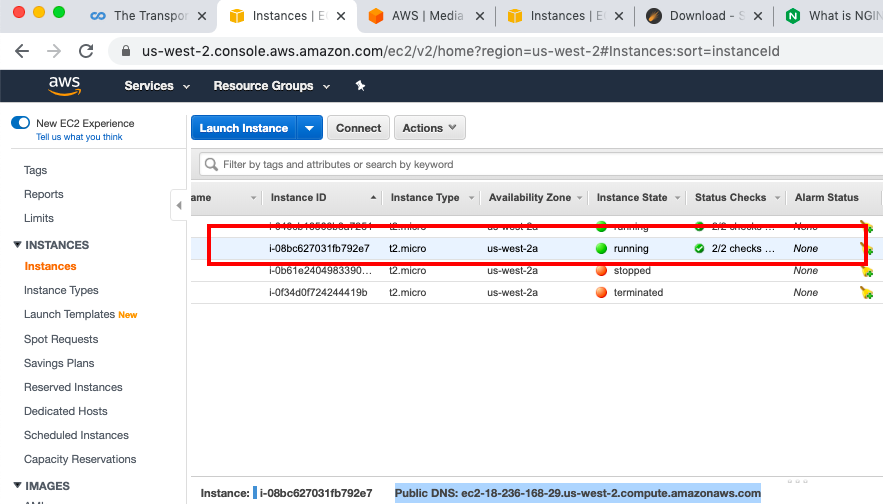
Step 7: View instance.
Step 8: Click on launch-wizard-3
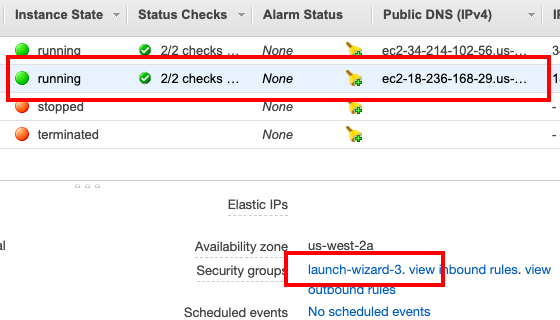
Step 9: Click on launch-wizard-3
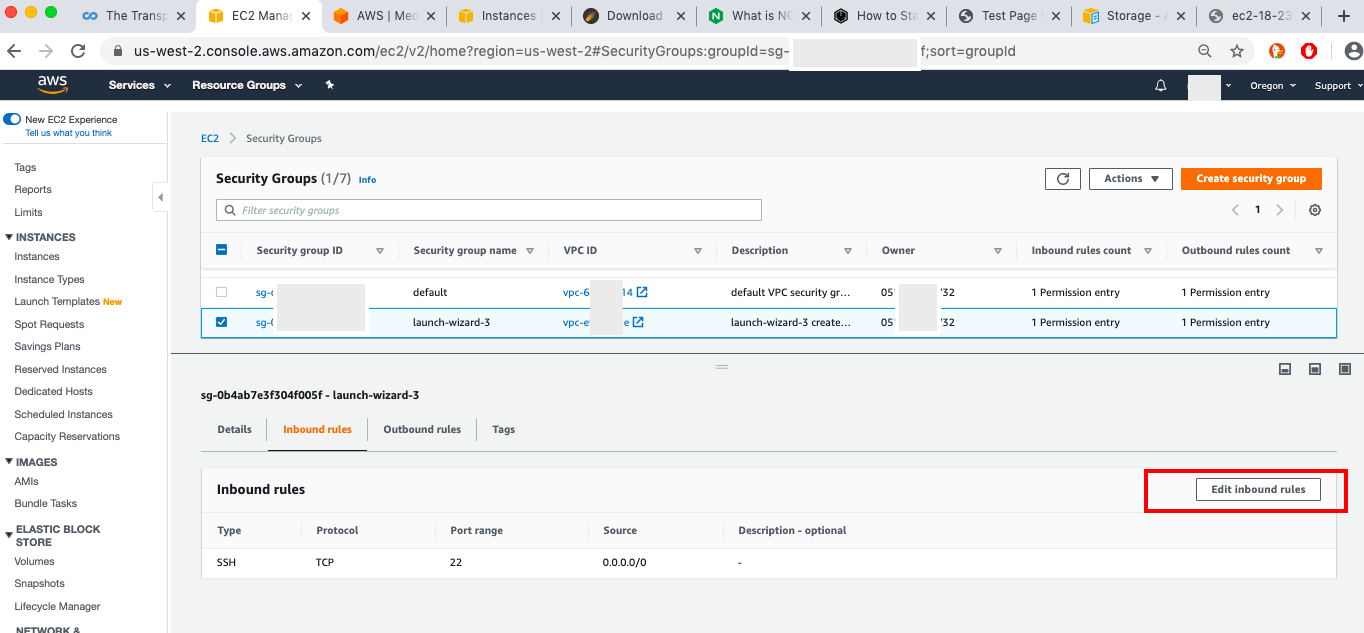
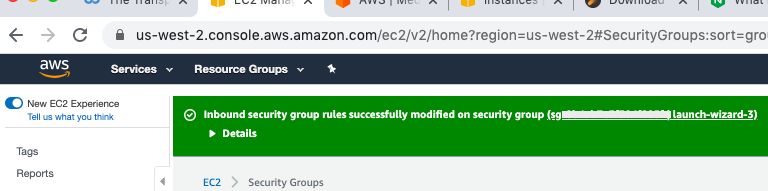
Step 10: Edit inbound rules and save
Othewise nobody will be able to connect to the server.
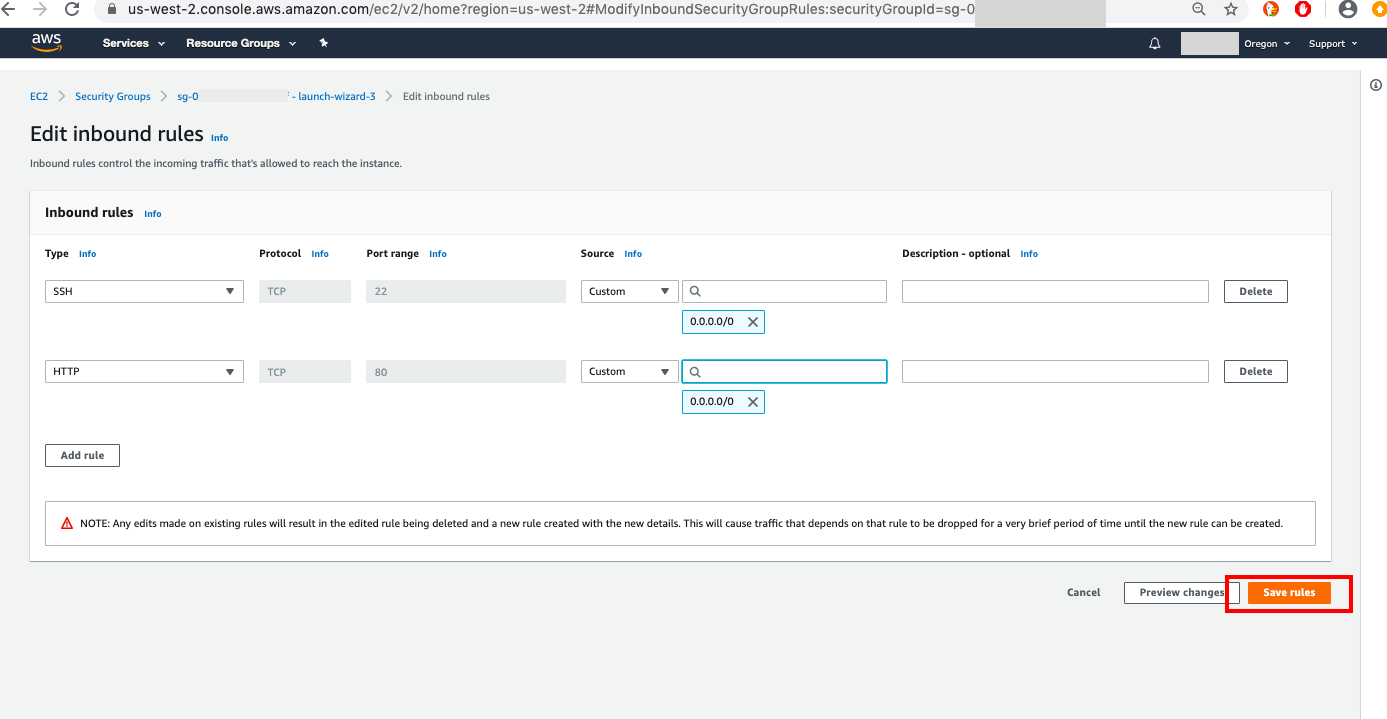
Save Rules
Step 11: ssh to EC2 instance
From local machine ssh to the remote linux machine
(base) nps-MacBook-Air-2:~ np$ ssh -i ~/.ssh/2019.pem ec2-user@ec2-18-236-168-29.us-west-2.compute.amazonaws.com

       __|  __|_  )
       _|  (     /   Amazon Linux 2 AMI
      ___|\___|___|

https://aws.amazon.com/amazon-linux-2/
No packages needed for security; 14 packages available
Run "sudo yum update" to apply all updates.
[ec2-user@ip-172-31-22-27 ~]$
Step 12: Install nginx1.12
[ec2-user@ip-172-31-22-27 ~]$ sudo amazon-linux-extras install nginx1.12
Step 13: Start the server
[ec2-user@ip-172-31-22-27 ~]$ sudo service nginx start
Redirecting to /bin/systemctl start nginx.service
[ec2-user@ip-172-31-22-27 ~]$
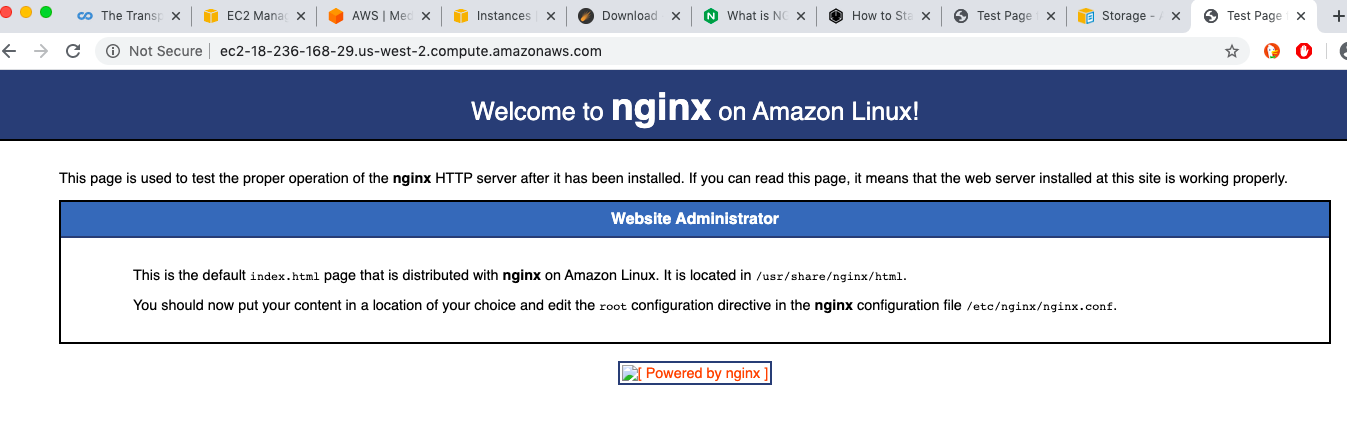
Step 14: Go to the browser and view the web server
Step 15: Stop the server
[ec2-user@ip-172-31-22-27 ~]$ sudo service nginx stop
Redirecting to /bin/systemctl stop nginx.service
Step 16: Install Spark
future work